How to "hard proof" in Photoshop?

Dario

Well-known member
Hello everyone,
I would like to understand - using Adobe Photoshop - how to be able to change the pixels of an image so that they look as if a soft proof was applied.
(I attach an example)
The image above (1) has profile Fogra39, and does not have soft proof active;
the image below (2) is the same as above, but with soft proof active using a particular icc profile;
the pixels of the two images are the same, only the appearance on the monitor changes.

I would like to have an image (3) that, even if saved/printed with the fogra39 profile, looks like (2), so it's a different image from (1) - the white point must change too!

The reason?
I need to be able to reproduce on coated paper a photo that was printed by someone else on very bad brownish uncoated paper (I have that icc profile).
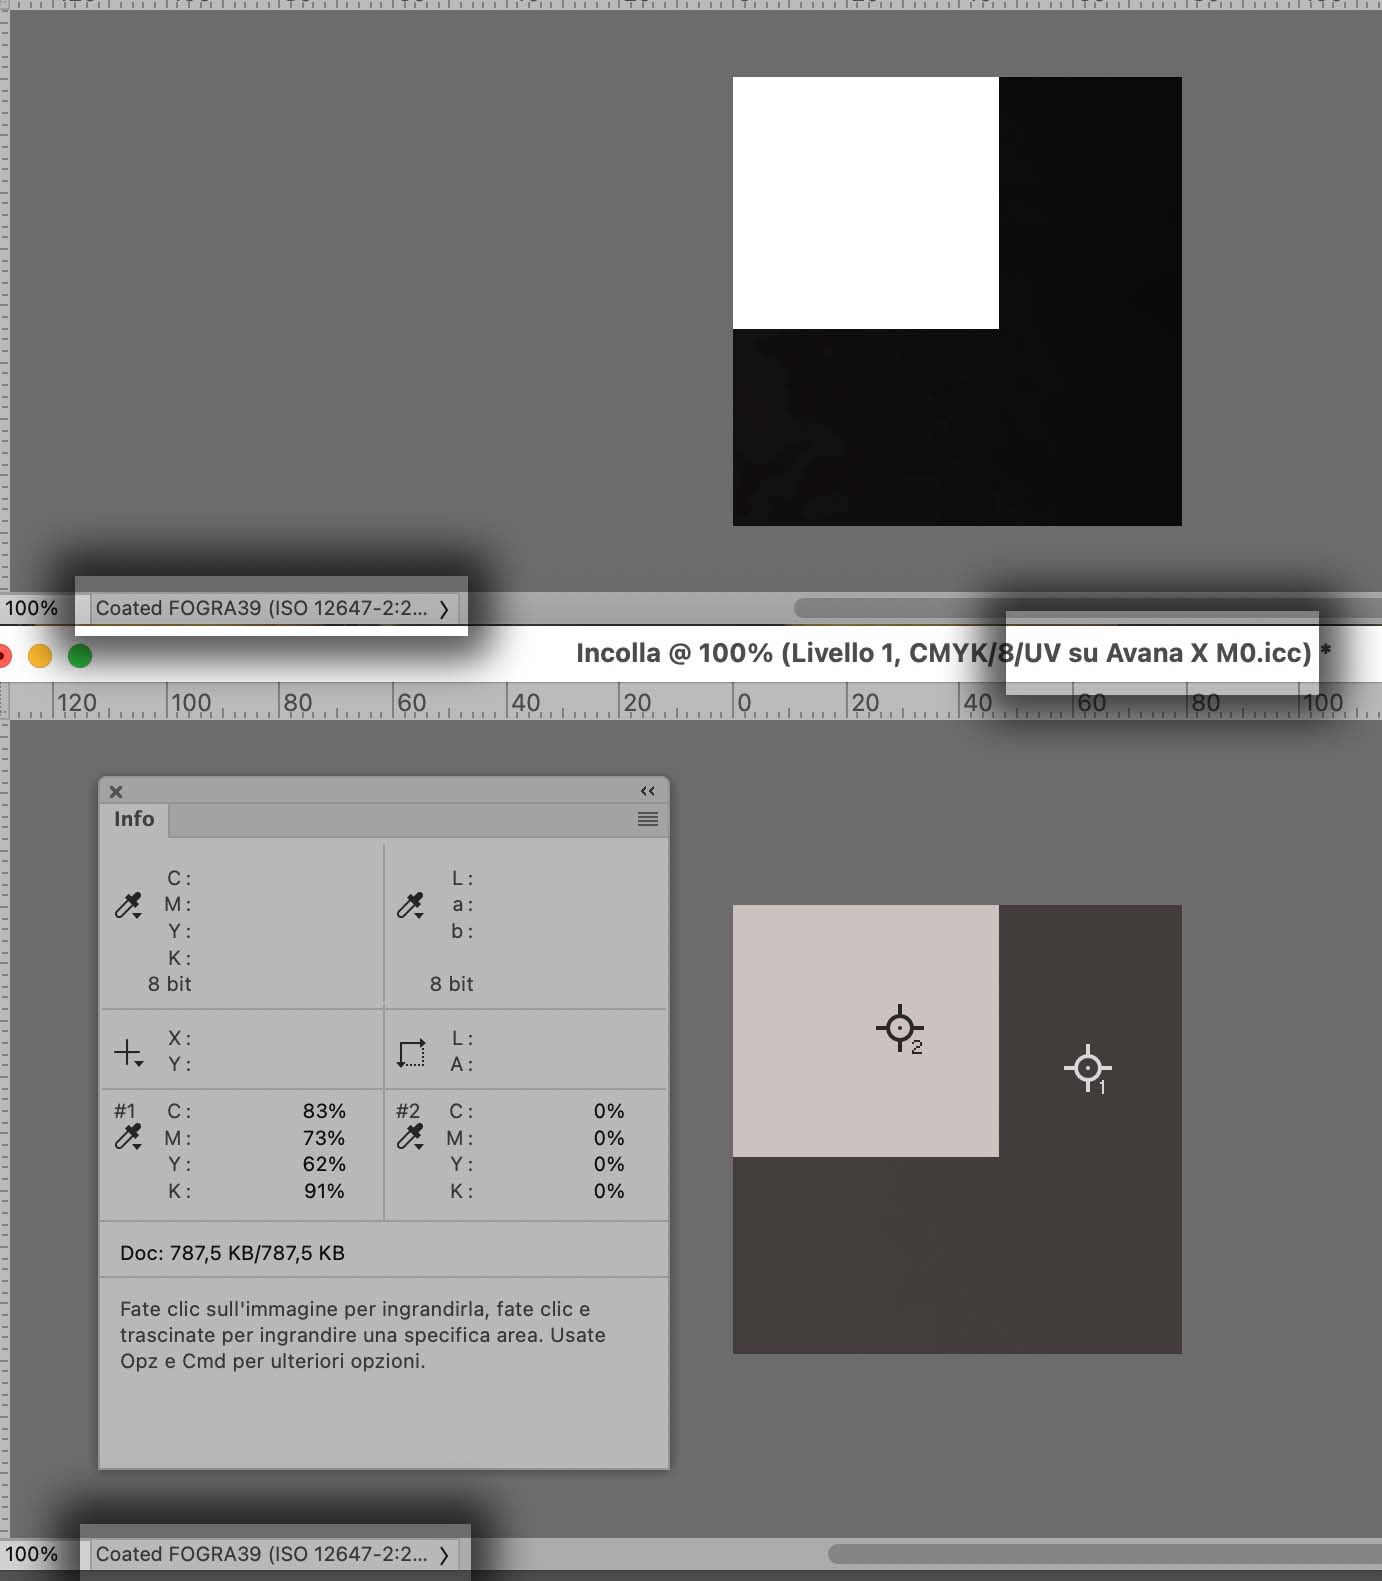
soft hard proof.jpg
 
You may want to use "Turning on View > Proof Colors". Note that you need to set the format of the proof first (View > Proof Setup).
Obviously, this will produce the best results with a calibrated screen.
 
You may want to use "Turning on View > Proof Colors". Note that you need to set the format of the proof first (View > Proof Setup).
Obviously, this will produce the best results with a calibrated screen.
But that only affects the appearance on screen ...right?
 
I would like to have an image (3) that, even if saved/printed with the fogra39 profile, looks like (2), so it's a different image from (1) - the white point must change too!

The reason?
I need to be able to reproduce on coated paper a photo that was printed by someone else on very bad brownish uncoated paper (I have that icc profile).
Profiles be damned - you are asking for trouble.
You should change the photo to match the observed/printed sample.
Your examples show what should happen if nothing changes between the screen and press - and nothing will change.
Now all that said you COULD make this happen with profiles through trial and error (don't ask) but it's inexact and non-replicable.
YMMV.
 
To achieve image (3) you first assign the profile 'UV s Avana X M0' to the image, then convert the image to Fogra39 with the rendering intent set to Absolute. That should give you what you are looking for.
 
To achieve image (3) you first assign the profile 'UV s Avana X M0' to the image, then convert the image to Fogra39 with the rendering intent set to Absolute. That should give you what you are looking for.
This is it! Thank you Magnus!!
 
To achieve image (3) you first assign the profile 'UV s Avana X M0' to the image, then convert the image to Fogra39 with the rendering intent set to Absolute. That should give you what you are looking for.
Nice to have the exact process. I will add this to our 'profile process' sheet.
And what a question for those who think they are gurus!
Glad I don't usually have to deal with this kind of issue on a regular basis.
 

PressWise

A 30-day Fix for Managed Chaos

As any print professional knows, printing can be managed chaos. Software that solves multiple problems and provides measurable and monetizable value has a direct impact on the bottom-line.

“We reduced order entry costs by about 40%.” Significant savings in a shop that turns about 500 jobs a month.


Learn how…….

   
Back
Top